Email deliverability isn't just a technical checkbox. It's a combination of domain authentication, list hygiene, sending behavior, and reputation management that determines whether inbox providers trust you enough to let your messages through. Get one piece wrong, and your entire outreach effort suffers, regardless of how good your content is. The frustrating part? Spam filters are getting smarter, and what worked two years ago may actively hurt you now.
At Vedain CRM, we built features like email warmup and two-way email sync directly into the platform because we've seen firsthand how deliverability issues derail sales teams. This isn't a problem you solve once and forget about, it requires ongoing attention and the right tools.
This guide breaks down 15 specific, actionable practices to keep your emails out of spam folders and in front of the people who need to see them. Whether you're setting up SPF and DKIM for the first time or troubleshooting a sudden drop in inbox placement, you'll find clear steps you can implement today.
1. Use Vedain CRM warmup and sending limits
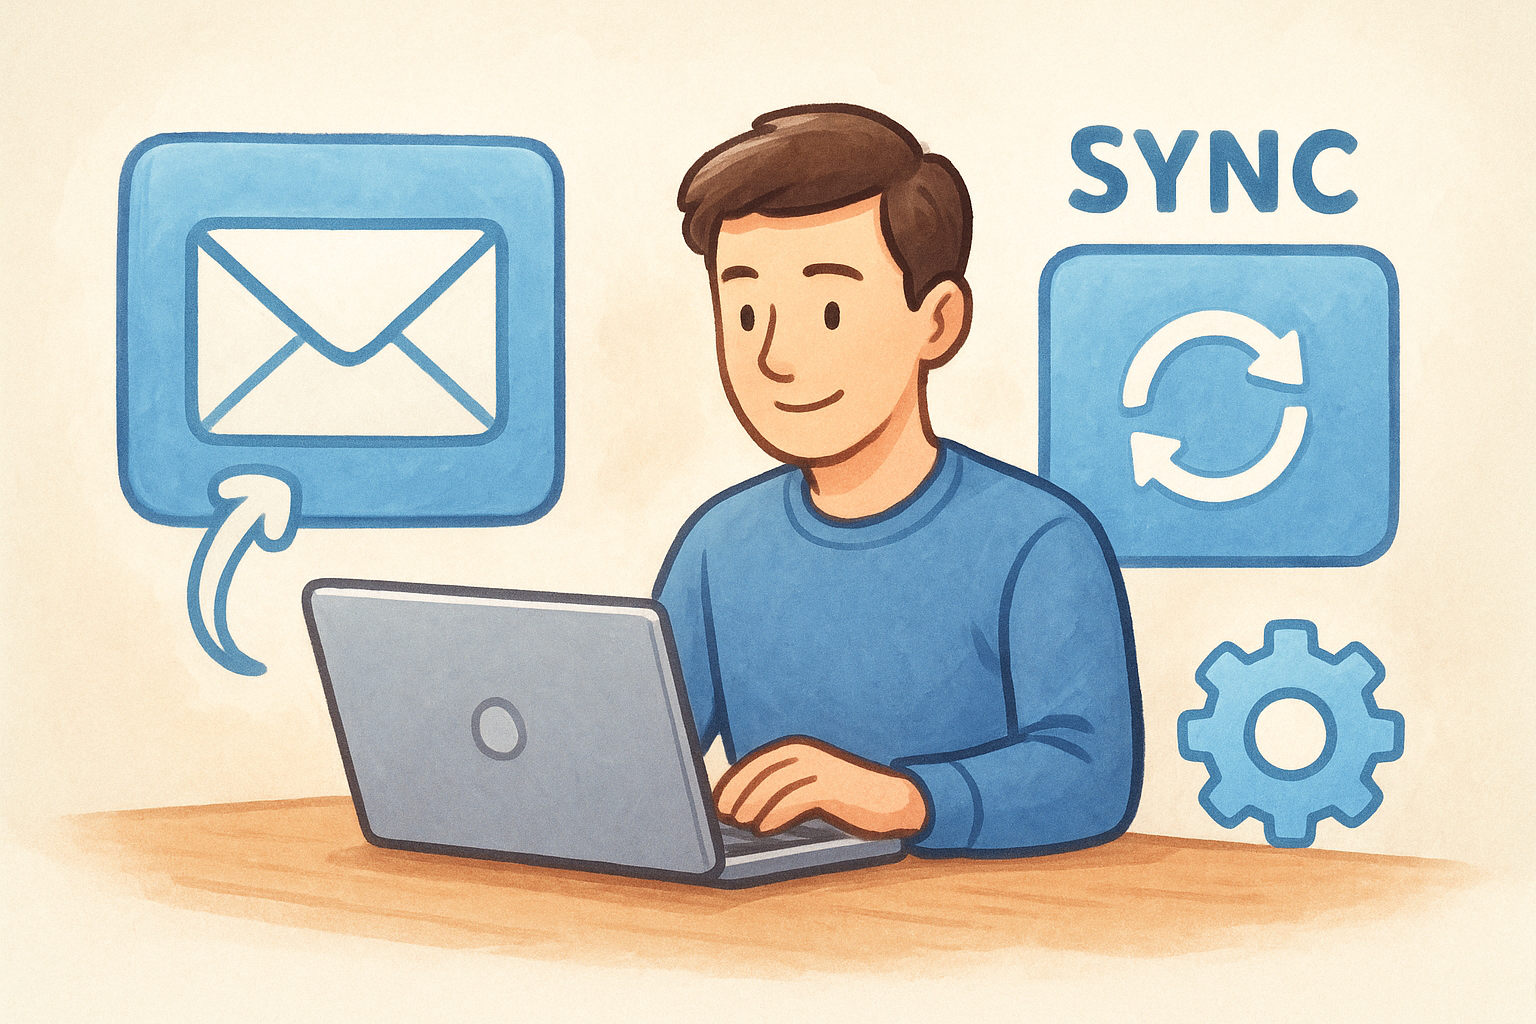
Before you send a single outreach email, your sending infrastructure needs to be ready. Vedain CRM includes email warmup and two-way inbox sync built directly into the platform, which means you don't need separate tools to get your domain prepared for high-volume outreach. Setting these features up correctly before your first send is the foundation everything else builds on.
What to set up in Vedain before you send
Start by connecting your inbox through Gmail or Outlook two-way sync in your Vedain account settings. Once connected, enable the 21-day email warmup feature, which gradually increases your daily sending volume and exchanges real engagement signals with other warmed-up mailboxes to build your domain's reputation from scratch. Complete the full 21-day cycle before you launch any cold outreach sequences or automated email campaigns. You should also configure your daily sending limits in Vedain's outreach settings to match where you are in the warmup timeline rather than letting Vedain default to higher volumes your domain isn't ready for yet.
Skipping or shortening the warmup period is one of the most consistent reasons new sending domains land in spam folders within the first two weeks of outreach.
How warmup, pacing, and sync protect inbox placement
Warmup works by sending low-volume, real-looking emails that get opened and marked as not spam, which signals to inbox providers that your domain behaves like a legitimate sender. Two-way sync ensures replies and bounces flow back into Vedain in real time, keeping your CRM data accurate and making your sending patterns look natural to mailbox providers. Pacing your campaigns through Vedain's sending limits also prevents the sudden volume spikes that trigger spam filters, and that consistency is one of the most fundamental email deliverability best practices you can follow from day one.
Mistakes that still hurt deliverability even with warmup
Warmup protects your domain reputation, but it doesn't eliminate every risk you face. Sending to unverified or stale contact lists during or after warmup generates hard bounces and spam complaints that can quickly undo the reputation you spent three weeks building. Another common mistake is disabling warmup the moment you feel ready, then immediately blasting your full contact database in a single campaign. Keep warmup running continuously in the background alongside your active sends. Vedain supports this workflow natively, so your domain reputation stays stable between campaigns rather than degrading each time you pause sending activity.
2. Set up SPF and DKIM for your sending domain
SPF and DKIM are the two foundational DNS records that tell inbox providers your email is legitimate and hasn't been tampered with in transit. Without both records in place, mailbox providers treat your messages with suspicion from the start, and no amount of good content or list hygiene will compensate for missing authentication.
What SPF does and how to validate it
SPF, or Sender Policy Framework, is a DNS TXT record that lists every mail server authorized to send email on behalf of your domain. When a receiving server gets your message, it checks whether the sending IP matches your SPF record. If it doesn't match, the message fails the check. To validate your SPF record, use Google's MX Toolbox-equivalent approach via your DNS provider or query your domain directly with a DNS lookup tool to confirm the record exists and includes all authorized sending sources, including Vedain's mail servers.
An SPF record with more than 10 DNS lookups will fail at runtime, even if the record syntax looks correct.
What DKIM does and how to confirm it signs correctly
DKIM, or DomainKeys Identified Mail, adds a cryptographic signature to every outgoing email that receiving servers verify against a public key stored in your DNS. This signature confirms that your message content hasn't changed since it left your server. To confirm DKIM is working, send a test email and check the raw message headers for a "DKIM=pass" result in the Authentication-Results field.
Common SPF and DKIM misconfigurations to avoid
The most frequent mistake teams make is publishing multiple SPF records for the same domain, which immediately breaks authentication since only one SPF TXT record is allowed per domain. You should also avoid generating DKIM keys shorter than 2048 bits, as 1024-bit keys are considered weak and some inbox providers now reject or downgrade messages signed with them.
3. Enforce DMARC and align your From domain
DMARC builds on SPF and DKIM by telling receiving servers what to do when authentication fails. Without a DMARC policy in place, inbox providers have no instruction from you, and bad actors can send email that appears to come from your domain. Enforcing DMARC is one of the email deliverability best practices that protects both your brand reputation and your inbox placement.
DMARC basics and why alignment matters
Authentication alignment is what makes DMARC actually meaningful. The record checks that the domain in your visible "From" address aligns with either your SPF or DKIM result, not just that authentication passed somewhere in the chain.
A message can technically pass SPF but still fail DMARC if the authenticated domain doesn't match the From domain your recipient sees. Both alignment modes operate as relaxed or strict, and relaxed is usually the right starting point for most sending setups.
How to move from p=none to p=quarantine to p=reject
Start with p=none, which collects reporting data without affecting delivery. After two to four weeks of clean reports, move to p=quarantine to route failing messages to spam. Once you confirm all legitimate sending sources pass authentication, upgrade to p=reject, which blocks unauthenticated messages outright.
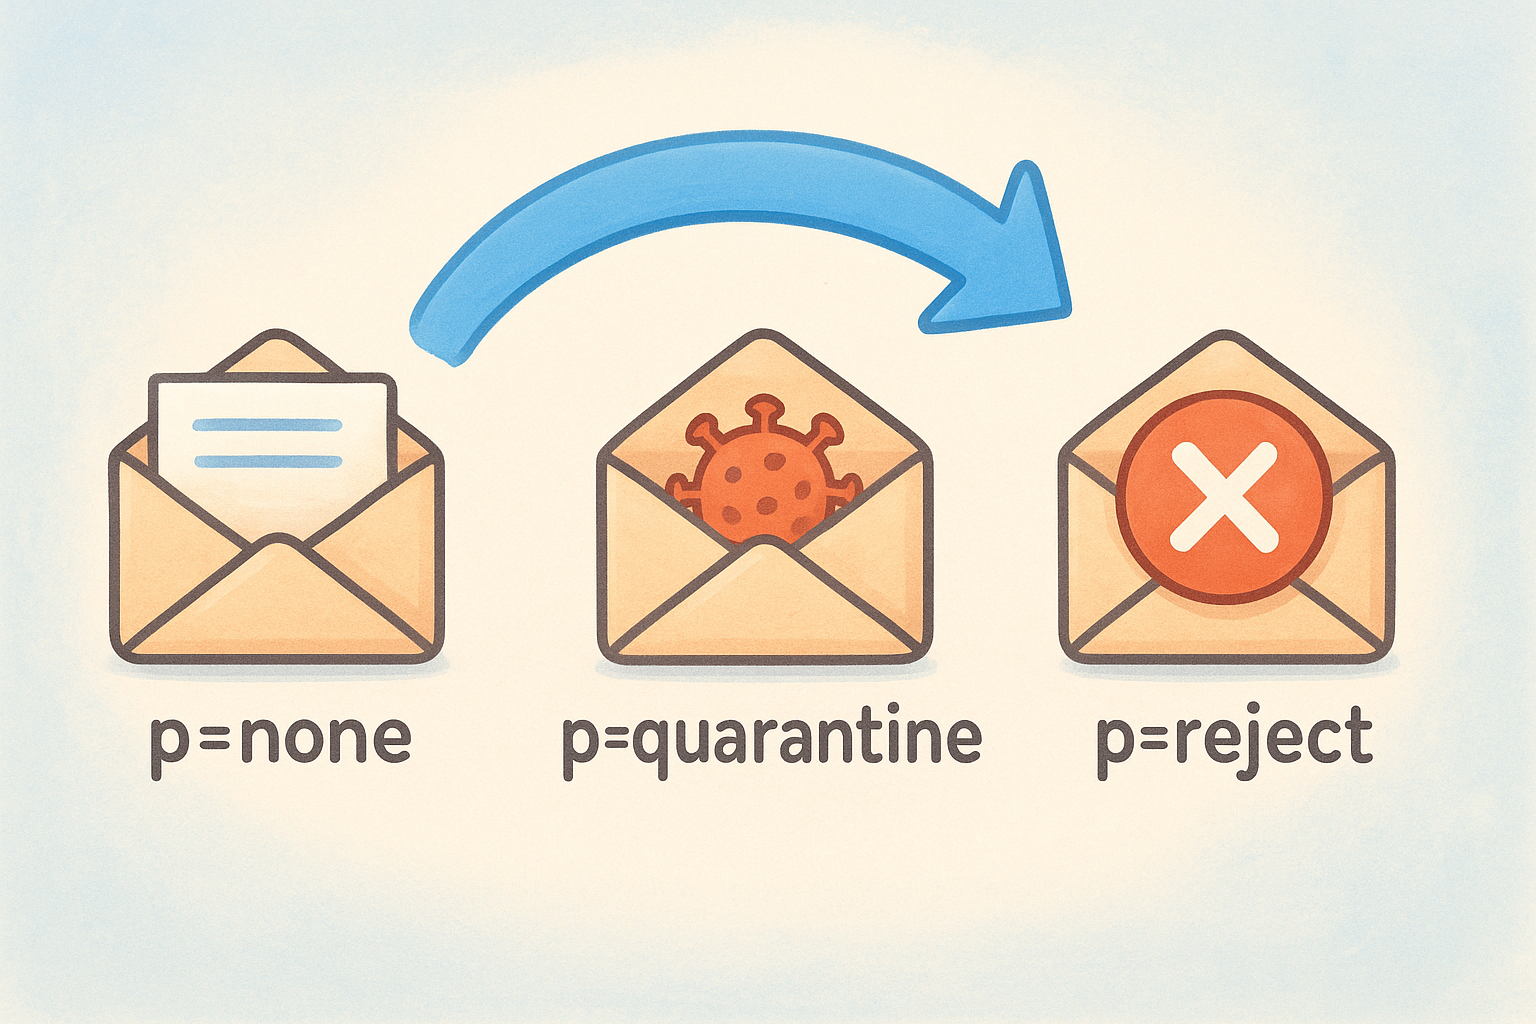
Never jump straight to p=reject without running p=none first, or you risk blocking your own legitimate email traffic.
How to read DMARC reports without getting lost
DMARC reports arrive as XML files sent to the address in your rua tag. Focus on failing source IPs first since those reveal misconfigurations or unauthorized senders. When reviewing reports, prioritize these three things:
- •Which IP addresses are sending on your behalf
- •Which sources are failing SPF or DKIM alignment
- •Whether the volume from unknown sources is growing over time
4. Send from a consistent From name and domain
Your From name and sending domain are identity signals that inbox providers track over time. Switching between names, subdomains, or domains from campaign to campaign confuses reputation systems and makes you look less like a trusted sender.
How mailbox providers use identity consistency
Inbox providers like Gmail and Microsoft build reputation profiles tied to your sending domain, not just your IP address. When they see the same domain sending mail consistently over months, that history works in your favor. Frequent changes to your From name or domain reset that history, which forces providers to treat your messages with the same caution they apply to unknown senders.
Consistency in your From identity is one of the most overlooked email deliverability best practices, but it directly affects how inbox providers score your reputation over time.
How to choose a sending domain and stick to it
Pick one primary sending domain and commit to it before your first campaign goes out. If you use a subdomain like mail.yourdomain.com, treat that subdomain as permanent. Here are the core rules to follow:
- •Never create new subdomains each quarter
- •Never alternate between your root domain and a subdomain
- •Keep your From display name identical across every campaign
When to separate transactional and marketing mail
Transactional emails (receipts, password resets, and account alerts) and marketing emails carry different engagement patterns. Mixing them on the same sending domain lets poor marketing performance drag down the reputation that protects your critical automated messages.
Use a dedicated subdomain for each stream so a drop in marketing engagement never blocks your transactional sends.
5. Warm up new domains and IPs with a ramp plan
Every new sending domain or dedicated IP address starts with zero reputation, and inbox providers treat unknown senders with suspicion by default. Following email deliverability best practices means building that reputation deliberately through a structured ramp plan before you scale to full sending volume.
When you need domain warmup vs IP warmup
Domain warmup applies any time you register a new sending domain or subdomain, even if you're using a shared IP infrastructure through your email provider. IP warmup is necessary when you acquire a dedicated IP address, since that IP also starts with no sending history. If you switch to a new domain and a new dedicated IP at the same time, you need to warm up both simultaneously, which requires a slower, more conservative ramp than warming up either one alone.
A simple warmup schedule you can actually follow
Start with no more than 20 to 50 emails per day in week one, sending only to your most engaged contacts who are likely to open and reply. Increase volume by roughly 50% each week, pausing if you see complaint rates rise above 0.1%. By week six, most domains can handle several hundred daily sends without triggering spam filters.
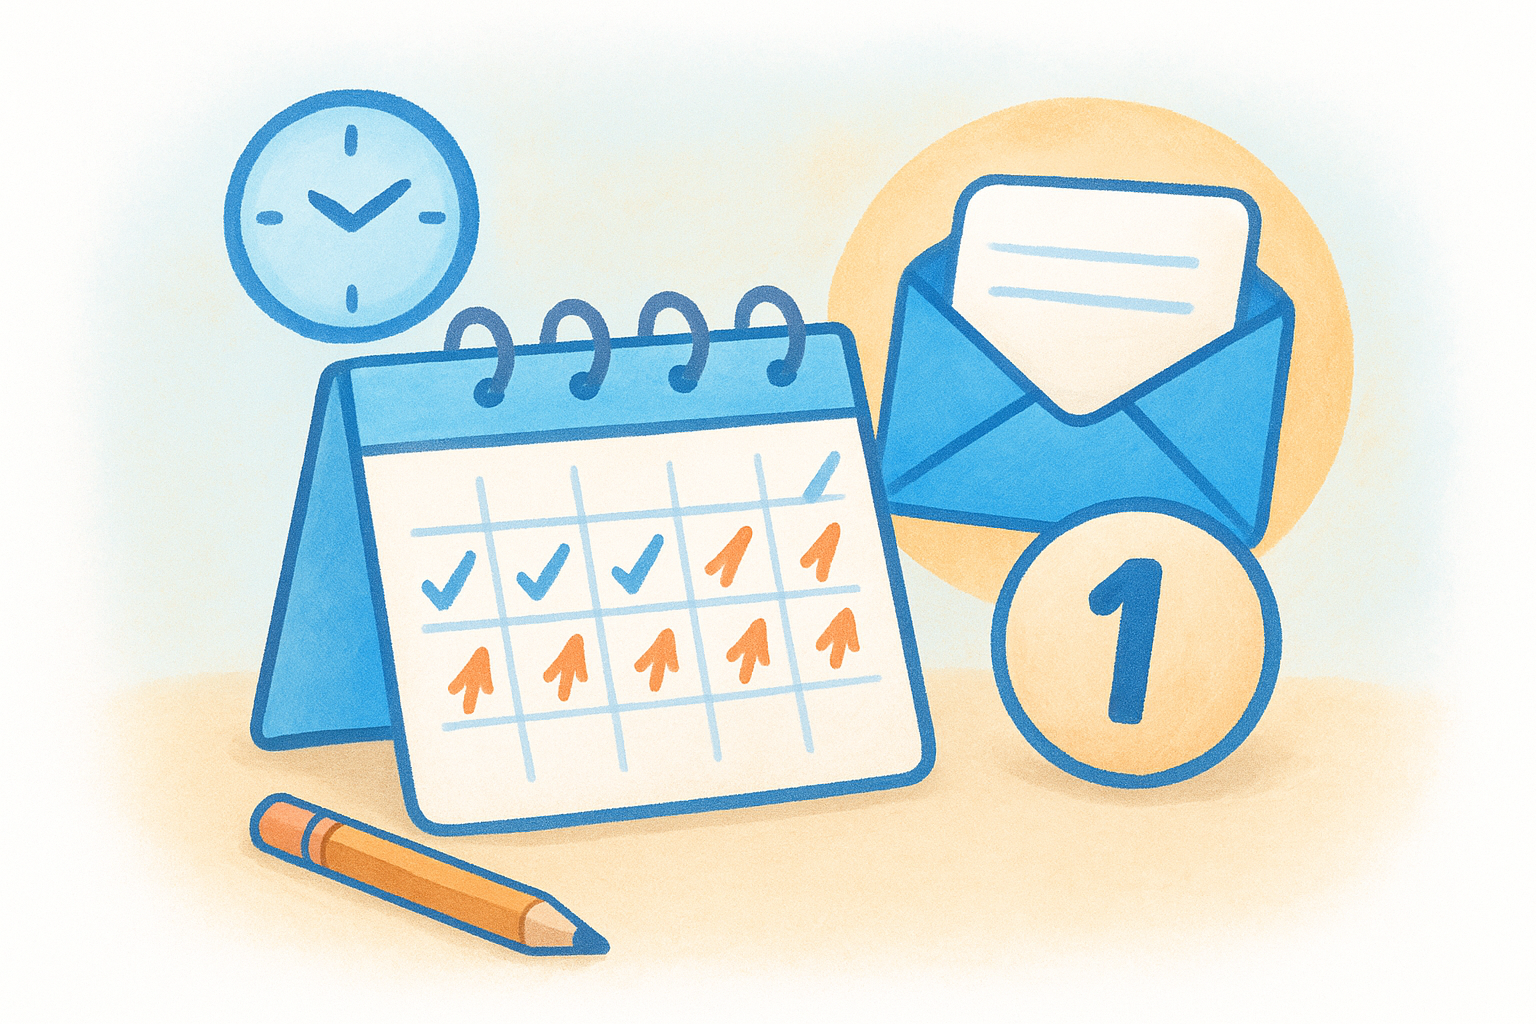
Never skip ahead in a warmup schedule because your campaign deadline is tight. Inbox providers flag sudden volume increases regardless of your internal timeline.
Warning signs you are ramping too fast
Watch for soft bounce rates climbing above 5% or a sudden drop in open rates across two or more consecutive sends. Both signals indicate that receiving servers are throttling or filtering your messages, which means you need to pull volume back and extend your warmup timeline before continuing.
6. Keep volume steady and avoid sudden spikes
Inbox providers track your sending patterns over time, and a sharp jump in daily volume looks like a compromised account or a spammer gearing up for a blast. Keeping your send volume consistent from week to week is one of the most underrated email deliverability best practices, and it directly protects the reputation you built during warmup.
Why consistency beats "big blasts"
Sending 500 emails one day and 5,000 the next gives spam filters a clear reason to slow down or block your messages entirely. Mailbox providers reward predictable senders because they behave like legitimate businesses with real communication needs. Build a regular sending cadence you can sustain, and increase volume only gradually when your list genuinely grows.
A reputation built over months disappears faster than you'd expect when a single oversized send triggers a spam filter response.
How to manage seasonal sends and promotions safely
Promotions and seasonal campaigns are predictable, so plan your volume ramp at least three weeks in advance. If you know a product launch is coming, increase your baseline sends in the weeks before to avoid a sudden spike on launch day. Warming your sending volume upward gradually before a major send protects your domain reputation and maximizes inbox placement when it matters most.
How to spread sends across the day without hurting speed
Throttling your campaign so emails leave in smaller batches throughout the day rather than all at once reduces the chance of triggering rate limits at major inbox providers. Most email platforms, including Vedain, let you configure hourly sending caps that distribute your campaign over a set window without adding meaningful delay to your overall delivery timeline.
7. Segment and personalize to drive real engagement
Inbox providers measure how recipients interact with your messages, and low open rates and high delete-without-reading rates are direct signals that your content isn't relevant to the people receiving it. Segmentation fixes this problem by making sure each contact only receives messages that match their actual situation, which drives the engagement signals that protect your sender reputation.
Segmentation ideas that improve deliverability fast
Start with the segments that require the least effort but return the biggest engagement gains. Industry, deal stage, and last activity date are three fields available in Vedain CRM that you can use immediately to split your list into more targeted groups. A contact who downloaded a pricing page behaves differently from one who signed up months ago and never opened a follow-up, and sending both the same message wastes your sending volume on the wrong audience.
Relevant emails get opened; irrelevant ones get deleted or reported, and spam filters track both outcomes equally.
Personalization that helps without feeling creepy
First name and company name are the baseline, but referencing a contact's specific situation, such as their industry challenge or the product category they browsed, adds relevance without crossing into uncomfortable territory. Keep personalization tied to data the contact voluntarily shared with you or actions they took directly in your funnel.
How to use engagement segments to protect reputation
Following email deliverability best practices means treating your engaged and unengaged contacts differently. Build a segment of contacts who have opened or clicked within the last 90 days and prioritize them for new campaigns. Send to colder segments less frequently and with re-engagement messaging rather than standard promotional content.
8. Use double opt-in and track consent sources
How you collect subscribers determines the quality of every contact on your list before you send a single message. Contacts who confirm their email address are real, interested, and far less likely to mark your messages as spam, which directly protects your sender reputation and supports your email deliverability best practices over the long term.
When double opt-in makes sense and when it does not
Double opt-in requires new subscribers to click a confirmation link before you add them to your active list. For cold outreach and sales prospecting, double opt-in doesn't apply since you're not managing a subscribe-based list. Where it makes a real difference is in inbound marketing forms, content downloads, and newsletter signups, where unverified addresses and low-intent signups inflate your list without adding value.
Smaller, confirmed lists consistently outperform large, unverified ones because every contact on them actually wanted to hear from you.
How to document consent for every signup path
Record the date, source, and method of consent for every contact at the point of capture. Store whether the signup came from a web form, lead magnet, live event, or direct sales interaction, and log which version of your consent language was live at that time. This documentation protects you during compliance reviews and helps you segment by engagement quality later.
How to prevent bot signups and bad addresses at capture
Honeypot fields and invisible form validation catch most bot submissions without adding friction for real users. Adding a real-time email syntax check at the form level prevents typos like "gnail.com" from entering your database in the first place, which reduces bounce rates from the moment a contact is created.
9. Add one-click unsubscribe and a preference center
Making it easy for contacts to unsubscribe sounds counterintuitive, but it directly protects your sender reputation. When someone wants off your list and cannot find an obvious way out, they hit the spam button instead, and that complaint does far more damage than a clean unsubscribe ever would.
Why "make it easy to leave" improves deliverability
Inbox providers like Gmail and Yahoo now require one-click List-Unsubscribe headers for bulk senders, and failing to include them can result in your messages being filtered or blocked. One-click unsubscribe removes all friction from the exit process, which keeps frustrated contacts from filing spam complaints that directly damage your domain reputation. Following this email deliverability best practice is no longer optional for any sender above a few hundred daily emails.
A single spam complaint from 1,000 emails puts you at a 0.1% complaint rate, which is enough to trigger deliverability problems at major inbox providers.
Preference options that reduce spam complaints
A preference center gives subscribers control over what they receive rather than forcing a binary stay-or-leave choice. Offer options like send frequency (weekly vs. monthly) and topic categories so contacts can reduce volume without unsubscribing entirely, which retains engaged subscribers while cutting complaint rates. Common options to include are:
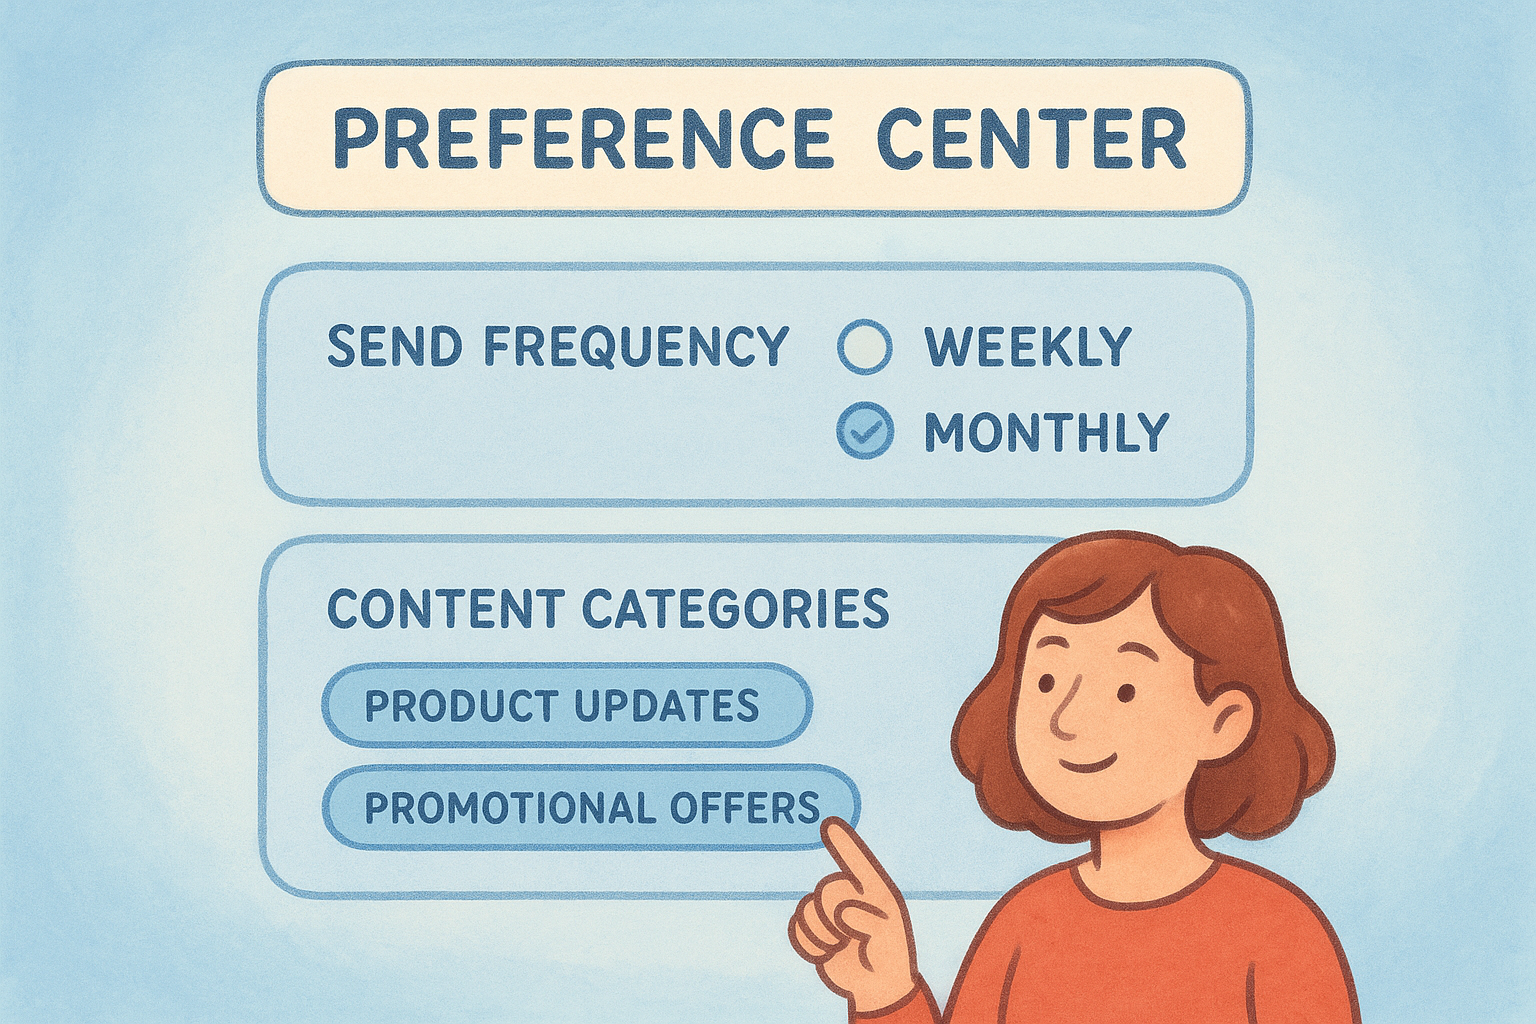
- •Send frequency (daily, weekly, or monthly)
- •Content categories relevant to your product or service
- •Communication type (product updates vs. promotional offers)
Unsubscribe mistakes that trigger complaints and blocks
Never add a multi-step confirmation process that requires logging in or completing a form before the unsubscribe finalizes. Friction sends frustrated contacts straight to the spam button. Also process unsubscribe requests within two business days, as most inbox providers and compliance frameworks expect much faster action than the legal maximums allow.
10. Clean your list and handle bounces immediately
Bounce management is one of the most direct email deliverability best practices you can act on without any technical setup. Every bounce that sits unaddressed adds to your bounce rate, which inbox providers use as a signal to decide whether your sending practices are trustworthy.
The difference between hard bounces and soft bounces
A hard bounce means the email address is permanently invalid, either because it doesn't exist or the domain is gone. Remove hard bounces from your active list the moment they occur. A soft bounce signals a temporary issue like a full mailbox or a server timeout. Track soft bounces closely, and suppress any address that soft bounces across three or more consecutive sends, since persistent soft bounces often indicate an address that is no longer actively monitored.
Letting even a small number of hard bounces accumulate unchecked is enough to trigger filtering at major inbox providers within a single campaign cycle.
List hygiene rules and a realistic cleaning cadence
Run a full list audit every 90 days at minimum, and remove any address that has hard bounced, generated a spam complaint, or gone completely inactive. Before importing older lists into Vedain CRM, use an email verification service to filter out invalid and risky addresses before they ever touch your sending domain.
How to build and use suppression lists correctly
A suppression list is a permanent record of addresses you will never send to again, including hard bounces, manual unsubscribes, and confirmed spam complainants. Store this list separately from your active contacts and check every new import against it before sending. Keep your suppression file updated in real time so that re-imported contacts from old spreadsheets or third-party sources never slip through.
11. Run re-engagement and apply a sunset policy
Inactive contacts drag down your open rates and engagement signals even when they never complain or bounce. Inbox providers watch what recipients do with your messages, and a growing pool of disengaged contacts tells them your emails aren't worth prioritizing. Running a structured re-engagement process is one of the email deliverability best practices that keeps your sender reputation clean between campaigns.
How to define inactivity based on your send frequency
Inactivity thresholds depend on how often you send, not on a universal calendar rule. If you email your list weekly, flag contacts who haven't opened or clicked in 60 to 90 days. If you send monthly, extend that window to 120 to 180 days. Set these thresholds in Vedain CRM using engagement filters so your inactive segment updates automatically as contacts cross your defined cutoff.
A re-engagement flow that protects your sender reputation
Send two or three re-engagement emails spaced a week apart before you make any removal decision. Keep the messaging simple: acknowledge the silence, remind the contact why they signed up, and give them a clear reason to stay. A subject line that names the situation directly (like "Should we keep sending?") consistently outperforms clever subject lines for this type of campaign because it sets honest expectations.
Re-engagement campaigns work best when you send them to inactive contacts only, not mixed into your regular sending schedule.
What to do with subscribers who never re-engage
Contacts who don't respond to your re-engagement sequence after three attempts belong on your suppression list, not your active list. Keeping them removes real sending capacity you could spend on contacts who want to hear from you.
12. Avoid spam traps and never buy email lists
Spam traps are email addresses that inbox providers and blocklist operators use to identify senders with poor list hygiene. Sending to even one trap can damage your sender reputation immediately, and buying email lists is the fastest way to load your database with them. Following solid email deliverability best practices means treating every address in your system as something you earned, not something you acquired.
How spam traps happen in real life
Spam traps fall into two main categories. Recycled traps are old addresses that were once real, then deactivated, then repurposed by inbox providers to catch senders who never clean their lists. Pristine traps are addresses that were never used by a real person and exist only to catch senders who scraped addresses or bought contact data from third parties. Both types damage your reputation the moment you send to them.
Hitting a pristine spam trap tells inbox providers you are sourcing addresses without consent, which is one of the hardest reputation problems to recover from.
Practices that keep traps out of your database
Never buy, rent, or scrape email lists from any source. Purchased lists almost always contain traps, invalid addresses, and contacts who never agreed to hear from you. Run every new import through an email verification service before it touches your sending domain, and apply your 90-day list hygiene review consistently so recycled traps don't accumulate on stale contacts.
What to do if you suspect you hit a trap
Check your domain against major blocklist lookup services immediately. Segment your recent sends to identify which list source or import batch generated the problem, and suppress that entire segment. Then submit a blocklist removal request once you have documented the corrective steps you took, since providers expect you to explain what changed before they delist your domain.
13. Build emails that spam filters can parse
Your message content is the last filter between your email and the inbox. Even with perfect authentication and a clean list, poorly structured HTML and spammy subject lines give filters a reason to redirect your message before your contact ever sees it. Keeping your email content clean and parseable is a core email deliverability best practice that works alongside every other technical step you take.
Subject lines and preview text that earn opens
Write subject lines that describe what is inside the email without triggering common spam filters. Your preview text should extend the subject line naturally rather than repeat it word for word, since inbox providers and subscribers both use that second line to decide whether the message is worth opening. Avoid the following in subject lines:
- •Excessive punctuation or all-caps words
- •Phrases like "free," "guaranteed," or "limited time"
- •Dollar signs, excessive numbers, or urgent pressure language
HTML and design rules that reduce filtering risk
Keep your HTML code clean and fully valid, since broken tags and unclosed elements confuse spam filters and make your message look like it was generated carelessly. Maintain a text-to-image ratio that leans toward text, aiming for at least 60% text content, because image-heavy emails with minimal readable copy are a classic spam signal that modern filters still catch.
A plain-text alternative version of every email you send is not optional; inbox providers use it to verify your HTML content is consistent and not hiding anything suspicious.
Links, images, and tracking pitfalls that hurt placement
Every link in your email should point to a domain with a clean reputation, and you should minimize redirect chains that obscure the final destination. Keep your total link count low and make sure every tracking pixel resolves quickly, since slow or broken tracking infrastructure adds another signal that damages placement. Limit each campaign to one or two tracked links and confirm that your click-tracking subdomain passes its own reputation checks before you send.
14. Monitor inbox placement, reputation, and blocks
Fixing deliverability problems after they surface is harder than catching them early. Active monitoring gives you the data to spot reputation damage, filtering changes, and blocklist entries before they compound into a serious drop in pipeline performance. Following email deliverability best practices requires treating monitoring as an ongoing task, not a one-time check.
Deliverability metrics that matter and what "good" looks like
Track open rate, bounce rate, and spam complaint rate as your three core deliverability indicators. A healthy complaint rate stays below 0.1%, and a bounce rate above 2% signals list quality problems that need immediate attention. Open rates alone don't tell the full story, but a sudden drop across two consecutive campaigns almost always points to a filtering or placement issue rather than a content problem.
A complaint rate above 0.3% will trigger automatic filtering at Gmail and Yahoo, and recovery takes weeks of consistent clean sending before inbox placement rebounds.
How to use Gmail, Yahoo, and Microsoft sender tools
Google Postmaster Tools shows your domain reputation, spam rate, and authentication status directly from Gmail's perspective. Register your sending domain at postmaster.google.com to access this free dashboard. Microsoft's SNDS and JMRP programs provide comparable data for Outlook and Hotmail delivery, and enrolling in both takes less than 30 minutes but gives you visibility that most senders never access.
How to check blocklists and troubleshoot placement issues
Run your sending domain and IP address through a blocklist check any time you notice an unexplained drop in delivery rates. When you find a listing, read the blocklist operator's removal policy carefully before submitting a request, since submitting without fixing the underlying issue typically results in a faster re-listing.
Keep your deliverability healthy
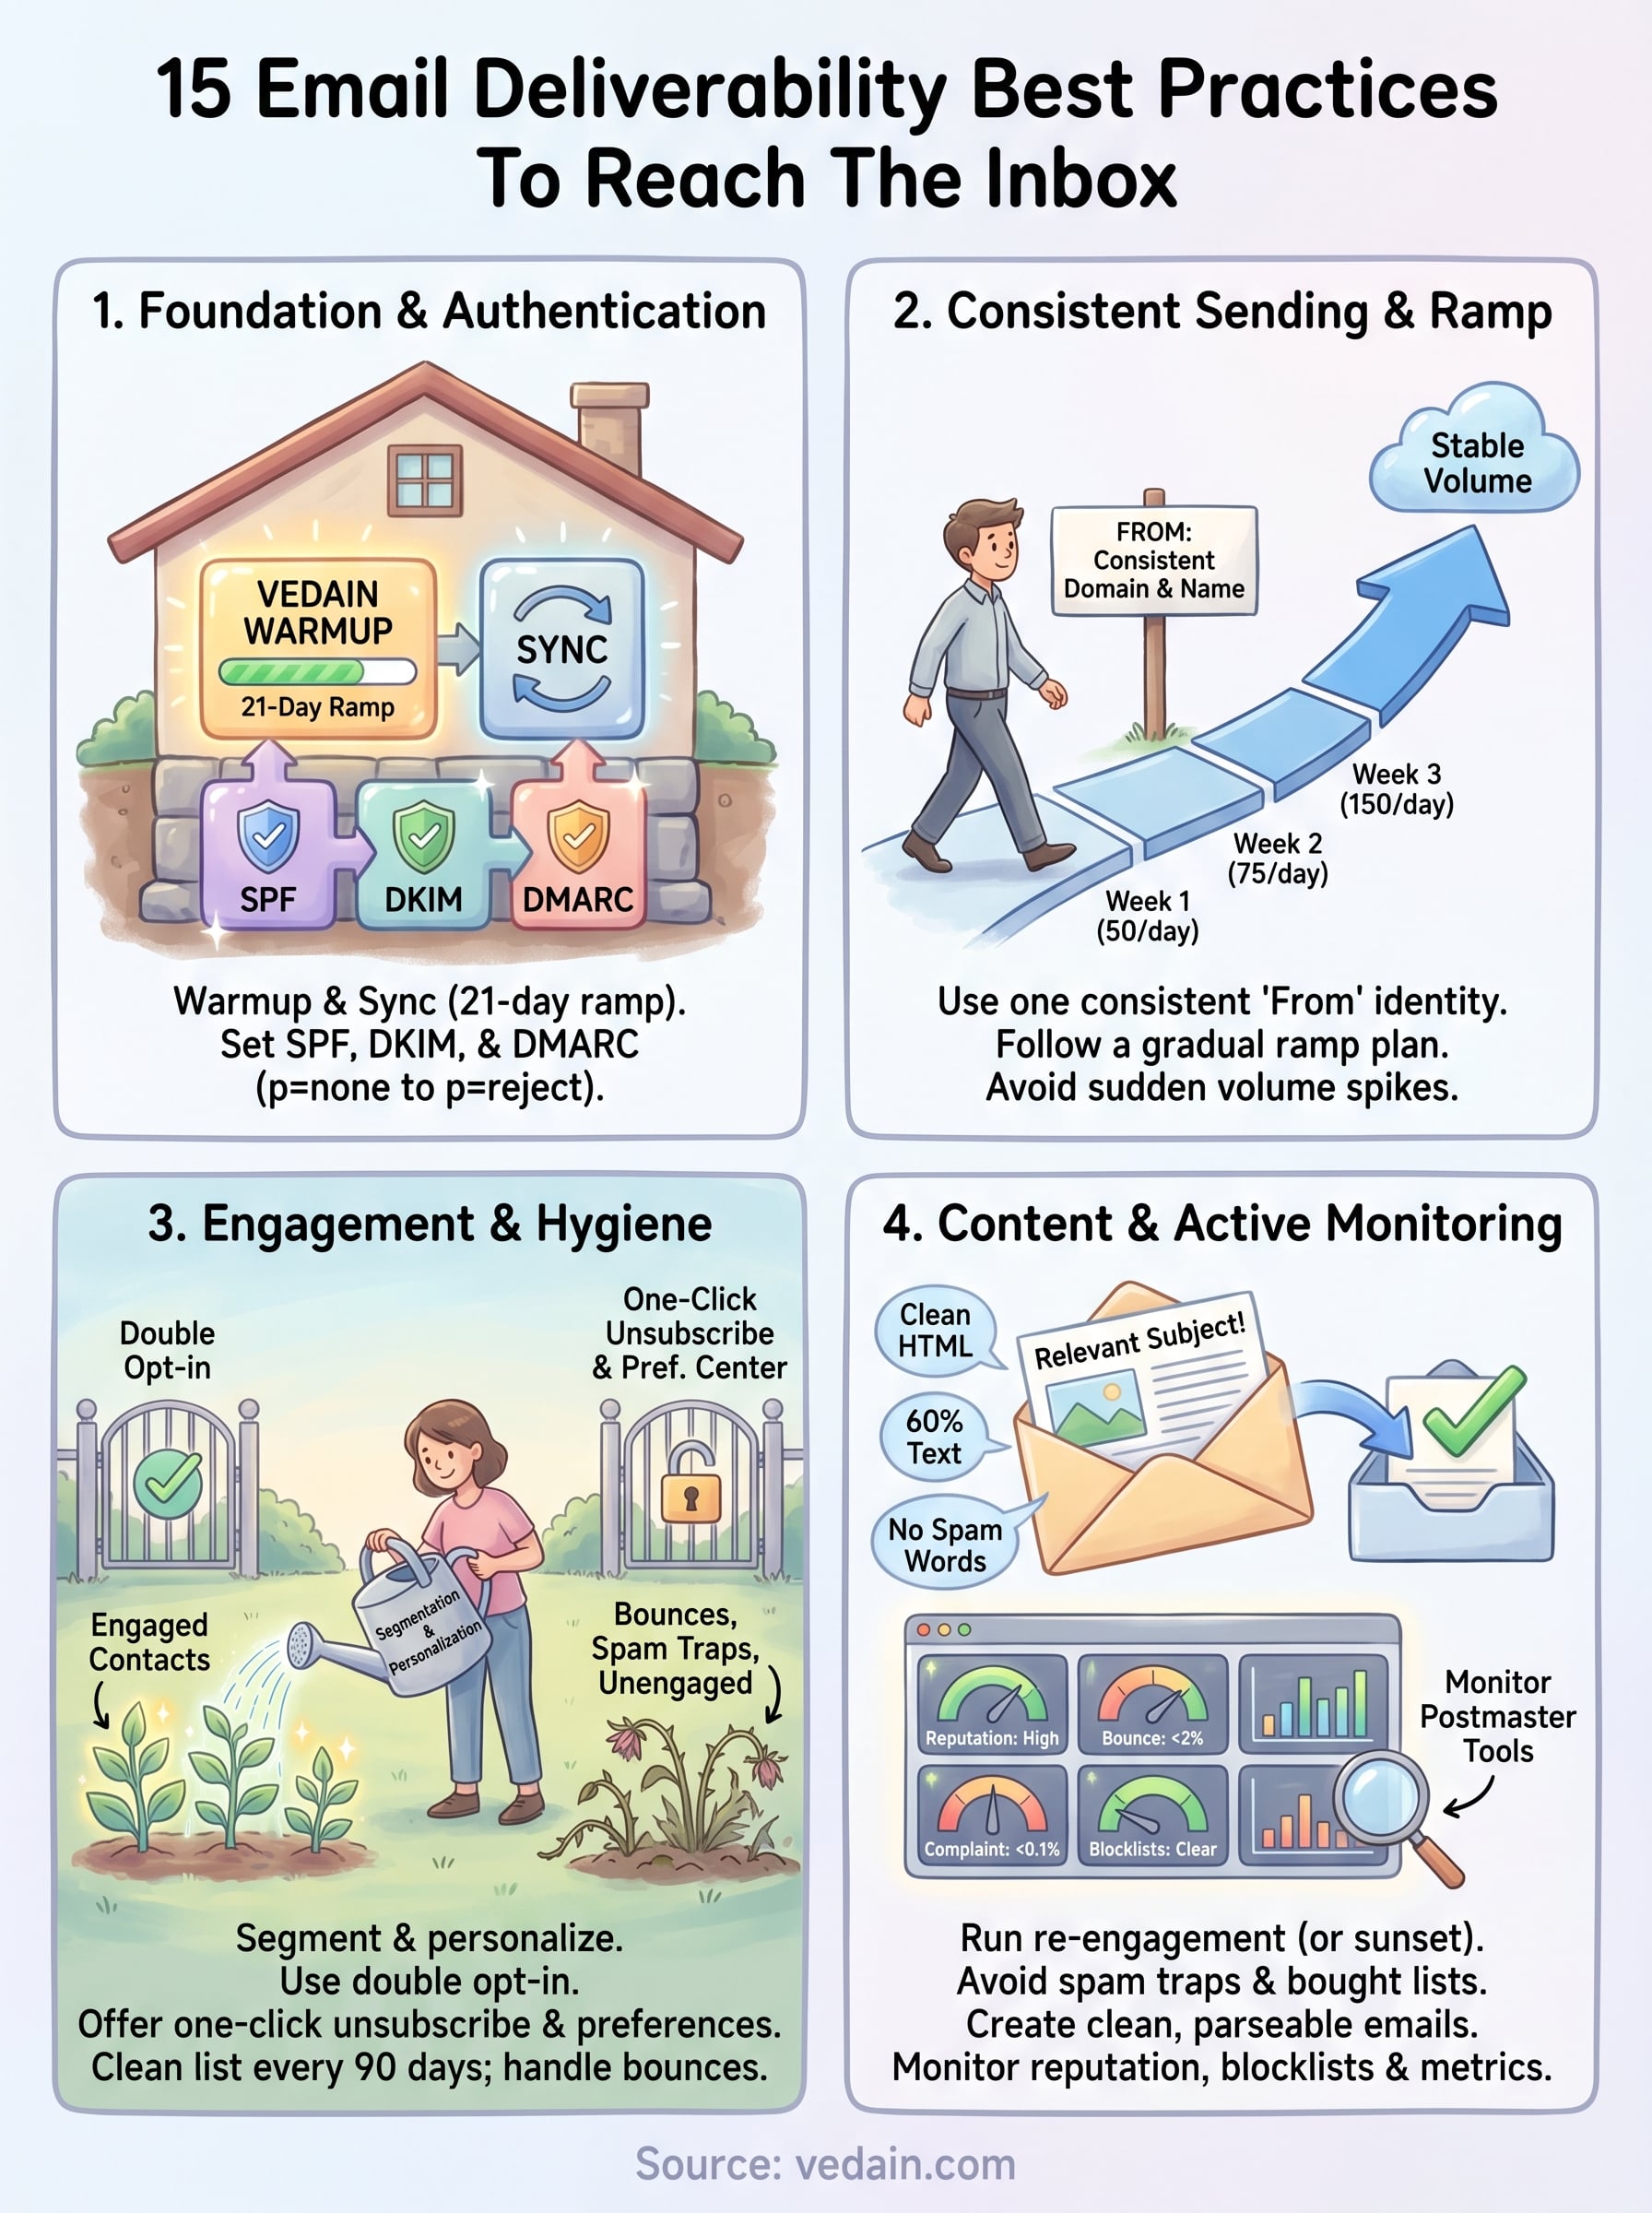
Email deliverability is not a project you finish and move on from. Every change to your list, your sending volume, or your domain setup introduces new variables that can shift your inbox placement in either direction. The 15 email deliverability best practices in this guide give you a complete framework, but they only work when you apply them consistently and revisit them as your sending program grows.
Start with authentication, warmup, and list hygiene since those three areas account for the majority of deliverability failures sales teams face. Build monitoring into your weekly routine so problems surface early rather than after your open rates have already dropped. Small, consistent actions protect your sender reputation far more effectively than periodic cleanups after damage has already occurred.
If you want a CRM that handles warmup, email sync, and campaign automation in one place without hidden fees, try Vedain CRM and see how fast you can set it up.
Related: Email & Deliverability